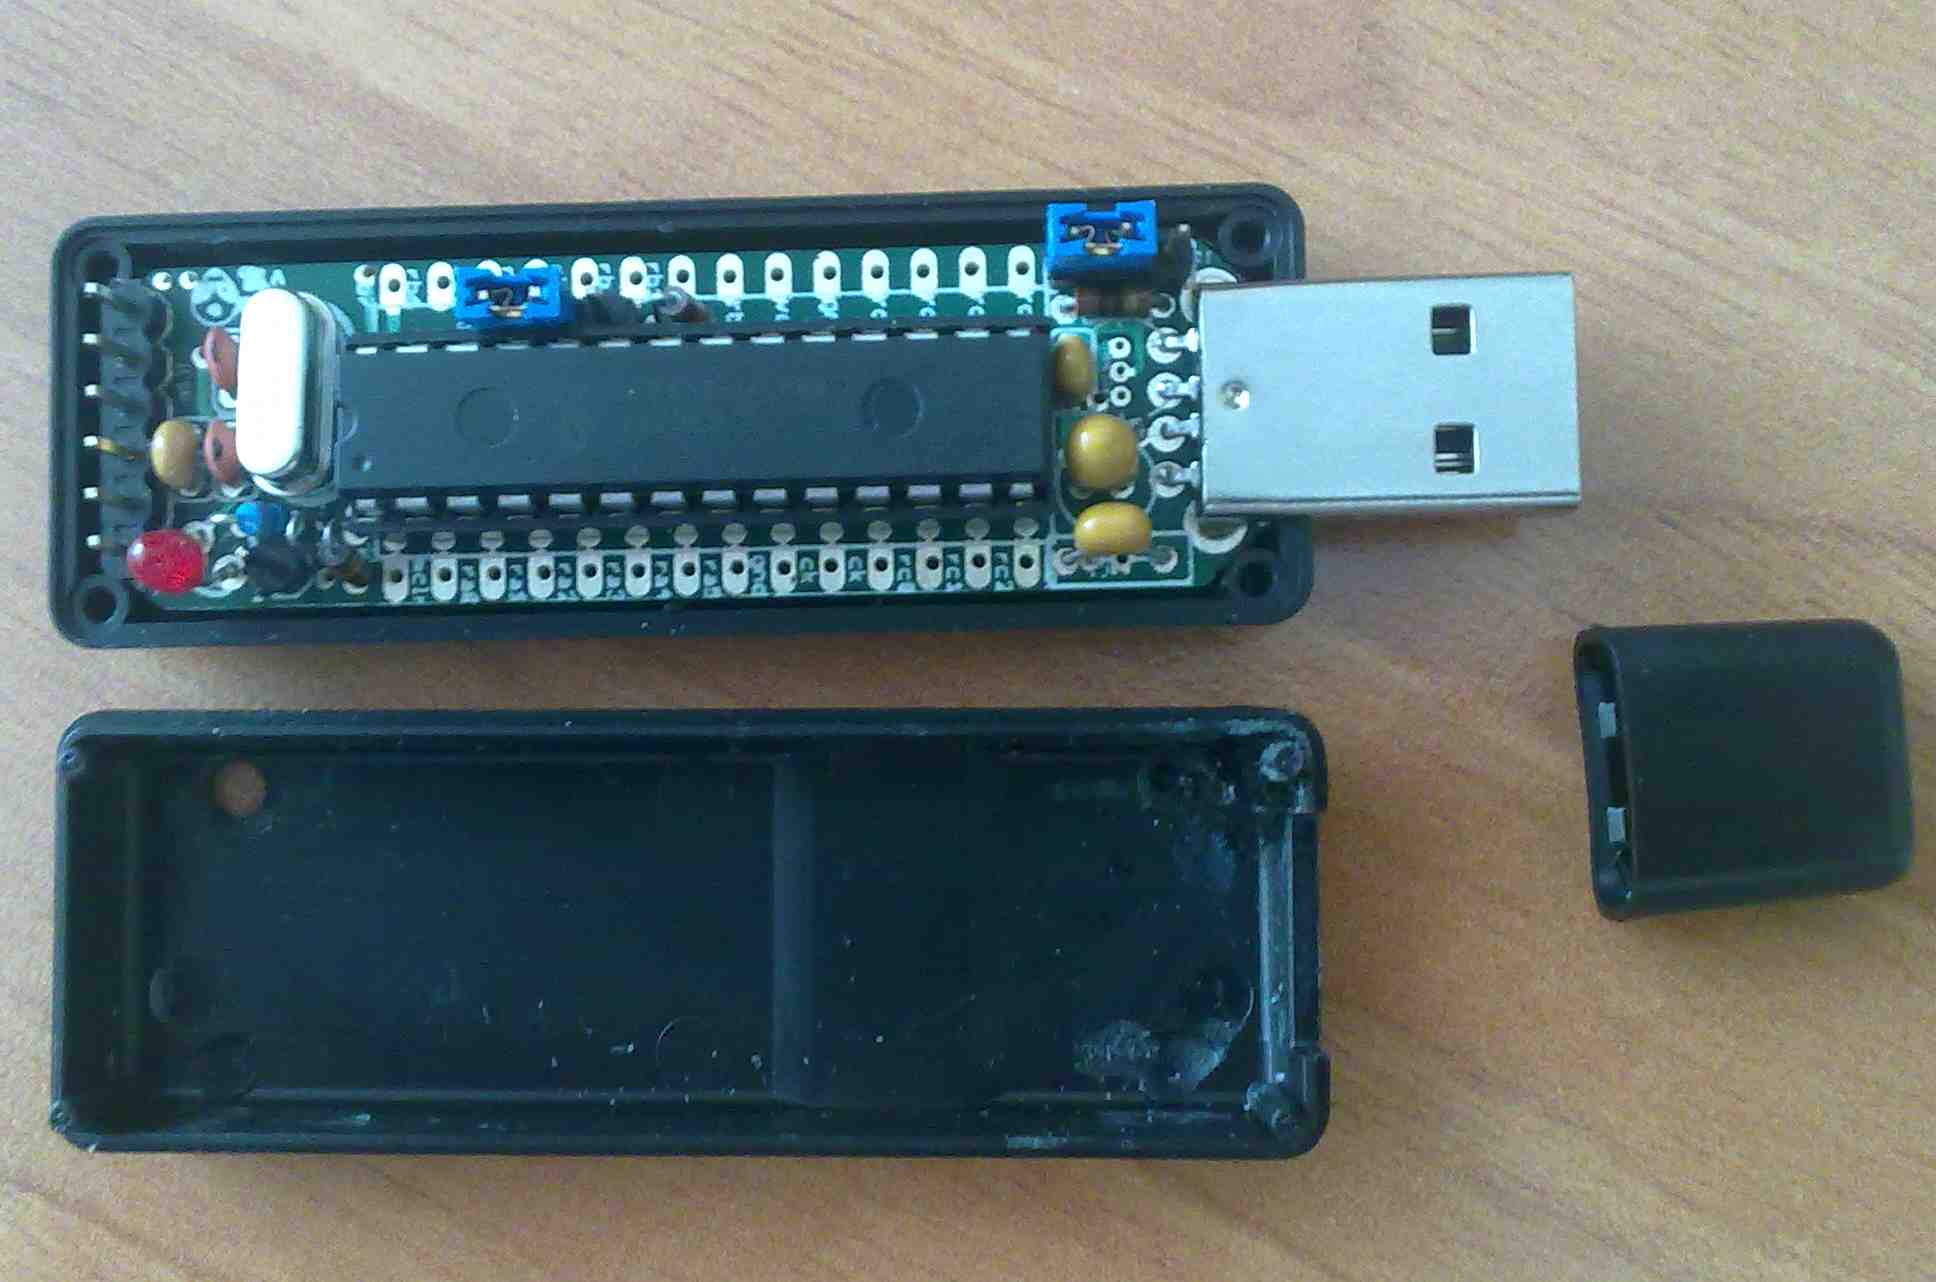
In the last article we described how to modify the Microchip’s Bootloader so to be used with the PICCOLETTA and we described how to modify the linker and sources so to use the MCC18 lite version. The lite version hasn’t all the optimization enabled, so when we try to compile the bootloader it builds an application with a dimension bigger than the space reserved into flash. We modify the sources to support the PICCOLETTA board and specifically we increase the space reserved in flash for the bootloader ( from 0x1000 word to 0x10FF word). Due to the increase of the space reserved to the booloader, an application that will be burned into the flash must be located after the end of the bootloader so it doesn’t rewrite part of the bootloader when the application burning phase. The application will be burned into the flash, from the address 0x112A.
The following operations need to be execute to build an application :
- Write a linker script that change the application base address
- Relocate the reset vector (default = 0x0000 must be 0x1100)
- Relocate the interrupt vectors (high = 0x1108 e low 0x1118)
- Relocate the application code after the interrupt vectors (from 0x112A)
How to build the Application:
- Execute the MPLAB application
- From the Project menu choose the Project wizard

- Click Next to continue
- Choose the PIC18F2550 device then press Next to continue

- Choose the C18 toolchain and next to continue

- Name the project test click next to continue

- Next to continue( we don’t need to add file to the project)

- Click End to finish

- Create a new file (testmain.c) and add it to the project. Fill it with the following source.
#include <p18f2550.h>
/** interrupt High priority function prototype
*/
void HighPriorityISRCode();
/** interrupt Low priority function prototype
*/
void LowPriorityISRCode();
/** the entry procedure for the reset
*/
extern void _startup (void);
/** relocate the reset vector. If the application reset the PIC it will restart from the address 0x1100
*/
#pragma code REMAPPED_RESET_VECTOR = 0x1100
void _reset (void)
{
_asm goto _startup _endasm
}
/** relocate the high interrupt vector
*/
#pragma code REMAPPED_HIGH_INTERRUPT_VECTOR = 0x1108
void Remapped_High_ISR (void)
{
_asm goto HighPriorityISRCode _endasm
}
/** relocate the low interrupt vector
*/
#pragma code REMAPPED_LOW_INTERRUPT_VECTOR = 0x1118
void Remapped_Low_ISR (void)
{
_asm goto LowPriorityISRCode _endasm
}
/** from here start the application code
*/
#pragma code
/** interrupt Hsgh priority function
*/
#pragma interrupt HighPriorityISRCode
void HighPriorityISRCode()
{
}
/** interrupt Low priority function
*/
#pragma interruptlow LowPriorityISRCode
void LowPriorityISRCode()
{
}
/** my main loop
*/
void main(void)
{
/** init some port
*/
/** forever loop
*/
while(1)
{
/** insert your code here
*/
}
}
- Create a new linker file (mylynk.lkr) and add it to the project. Fill it with the following source:
LIBPATH .
FILES c018i.o
FILES clib.lib
FILES p18f2550.lib
// the bootloader
CODEPAGE NAME=bootloader START=0x0 END=0x10FF PROTECTED
// the interrupt vectors
CODEPAGE NAME=vectors START=0x1100 END=0x1129 PROTECTED
// the application starts from 0x112A
CODEPAGE NAME=page START=0x112A END=0x7FFF
CODEPAGE NAME=idlocs START=0x200000 END=0x200007 PROTECTED
CODEPAGE NAME=config START=0x300000 END=0x30000D PROTECTED
CODEPAGE NAME=devid START=0x3FFFFE END=0x3FFFFF PROTECTED
CODEPAGE NAME=eedata START=0xF00000 END=0xF000FF PROTECTED
ACCESSBANK NAME=accessram START=0x0 END=0x5F
DATABANK NAME=gpr0 START=0x60 END=0xFF
DATABANK NAME=gpr1 START=0x100 END=0x1FF
DATABANK NAME=gpr2 START=0x200 END=0x2FF
DATABANK NAME=gpr3 START=0x300 END=0x3FF
DATABANK NAME=usb4 START=0x400 END=0x4FF PROTECTED
DATABANK NAME=usb5 START=0x500 END=0x5FF PROTECTED
DATABANK NAME=usb6 START=0x600 END=0x6FF PROTECTED
DATABANK NAME=usb7 START=0x700 END=0x7FF PROTECTED
ACCESSBANK NAME=accesssfr START=0xF60 END=0xFFF PROTECTED
SECTION NAME=CONFIG ROM=config
STACK SIZE=0x70 RAM=gpr3
SECTION NAME=USB_VARS RAM=usb4
-
Build the application
-
We suppose you have the bootloader installed in the PICCOLETTA.
-
NOTE THE PICCOLETTA NEEDS TO BE NOT POWERED OR CONNECTED TO THE PC
-
Close the 2-3 pin of the J-boot pin header to execute the bootloader.
-
Execute the Microchip HidBootLoader.exe application (I’ve it into the C:\Microchip Solutions v2010-10-19\USB Device – Bootloaders\HID – Bootloader\HIDBootLoader.exe)

- The Application will display “Device not Detected"

- Connect the PICCOLETTA to the PC.
-
The Application will display “Device attached
-
Select the file that will be burned using the button Open Hex File
-
Program and verify the file using the Program/Verify button
-
Now remove the disconnect the board from the PC and change the jumper from the pin 2-3 of the J-boot pin header to the 1-2 pins
-
Connect the board and enjoy with your application.
That's all.