In the post MyBlueSec – BIll Of Materials for a Minimal System I introduced the MyBlueSec Minimal System, in this post I want to show the hardware used and how to connect boards each other.
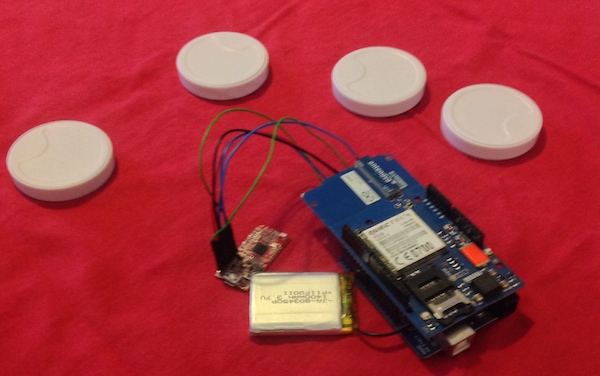
The following picture shows the caos on my desk, before I started assembling the system.
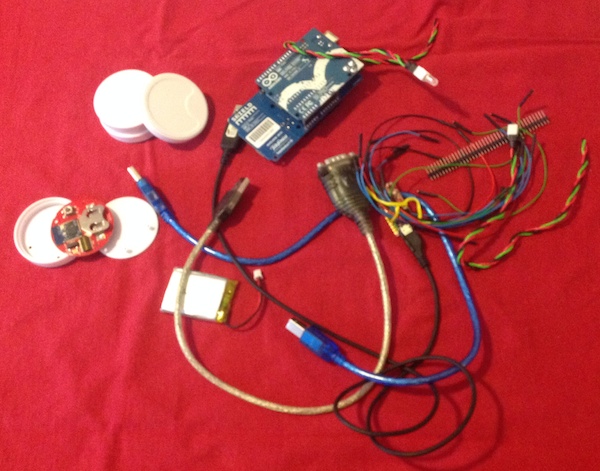
You can see a lot of compenents. In the following few lines I'm going to describe each component and the interconnections.
Naturally, some female/female wires, as male/male wires are very useful to connect all devices together.
A strip of pins seems useful, too.
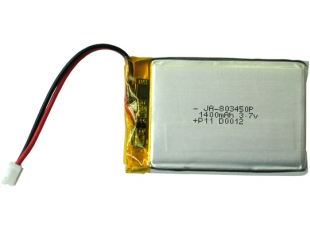
- Connect the Lipo battery to +5V and GND pins of the Arduino UNO board
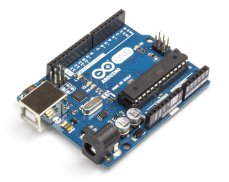
- The Arduino board I'm using is the Arduino UNO R3,
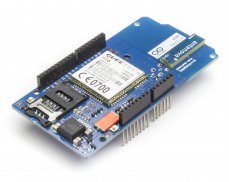
- The GSM Shield is the official Arduino GSM Shield, that you can buy from the Arduino Store.
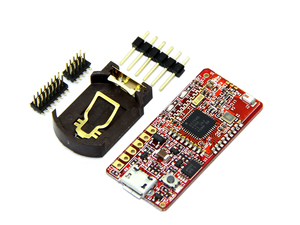
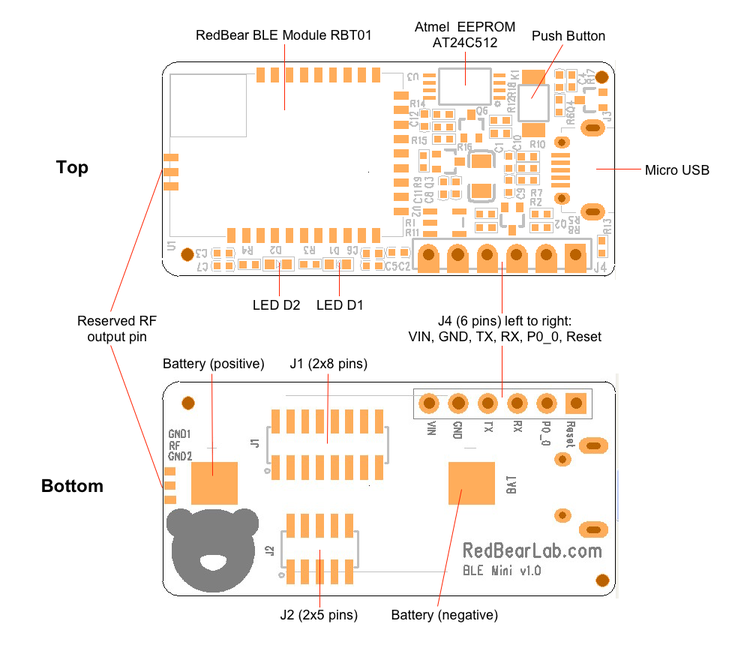
- The Bluetooth 4.0 antenna is the RedBearLab BLE Mini, it is really an impressive board and ReadBearLab provides several different firmware for work with the board. (I'll show the firmwares available in a future post, when I will also show the code of the MyBlueSec System)
Since the GSM Shield is a standard Arduino shield you can connect it to the Arduino board in a piggyback way.
This way Pin 3 an Pin 2 will be used to communicate with the arduino board.
Connect the TX pin of the BLE Mini (connector J4) with Pin 4 of the arduino board and the RX pin of the BLE Mini (connector J4) with Pin 5 of the arduino board. This way you'll use the Software Serial Library to communicate with the RedBearLab BLE Mini through pins 4 and 5.
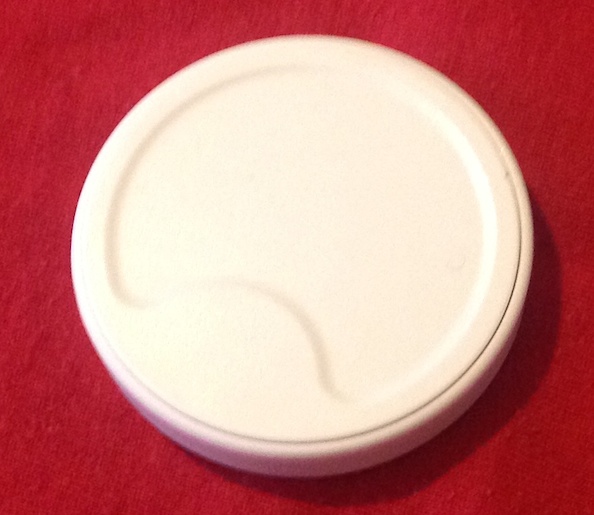
The BLEMini will check for the presence of the ibeacon in its proximity.
And here you are the assembled system.
Next time I'm going to write some lines of code to control the system.
Gg1